Track Internet disconnections, provider outages with historical data, and automated speed testing.
For Windows, Linux, ARM64, ARMa7. Learn more by visiting www.outagesio.com
Notice: If you created an account on app.outagesio.com, simply use the same credentials to log in here.
Creating users - Enterprise
-
Enterprise managers can create their own users such as IT personnel and users that may or may not be able to change agent settings.
Only a manager can add/remove users along with enabling and disabling certain agent features.
Admins are typically uses that will have access to all agents and information but cannot create users or change some settings that only manager can change. A user could also be a customer for example, who can access their own reports without changing any settings.
Create or activate an agent
Create a new software agent or activate one as you have before.
Note the agent ID that you'll want to assign to a user.
Create a new user
As manager, click on Users menu item then on the Create user option.
Enter the persons name or company info, what ever works for you along with a user name.
Note that the user will be able to see their account information if/when they click on Account then view.
If you do not want them to ever receive any emails, even accidentally, simply enter a fake email address such as 'customer4@work.loc'.
When done, click on Create.
Assign the new users role
Click on Users again and while looking at the user you just created, you'll see icons under Actions on the right.
Mousing over those, you'll see one that says 'Assign role'. Click on this icon.
Roles include;
Admin: Admin has access to all agents and most everything but creating users and changing manager specific settings.
Member: A user that has access to their own agent/s and can change settings.
Viewer: A user that has access to their own reports but who cannot change any settings, they can only view all information generated by their own agent.
The viewer only account is different from all the others.
Notice how this role level can view all reports including historical but does not have access to any settings.
Assign one or more agents to a user
Click on Users again and while looking at the user you just created, you'll see icons under Actions on the right.
Mousing over those, you'll see one that says 'Assign agent'. Click on this icon.
You'll see a list of available agents and the user you just selected at the top.
On the far right, click on the green Actions icon next to the agent you'd like to assign to this user.
You should then see that agent assigned to the selected user.
You can assign multiple agents to any one user.
You can remove assigned agents from a user by using the red Unassign button.
Test the login credentials
Before sending the user their login credentials, it may be a good idea to log in using those credentials first to ensure they have the level of access you wish them to have.
Once confirmed, send the user their username, password and url to the site (app.outagesio.com) and they should be able to log in.
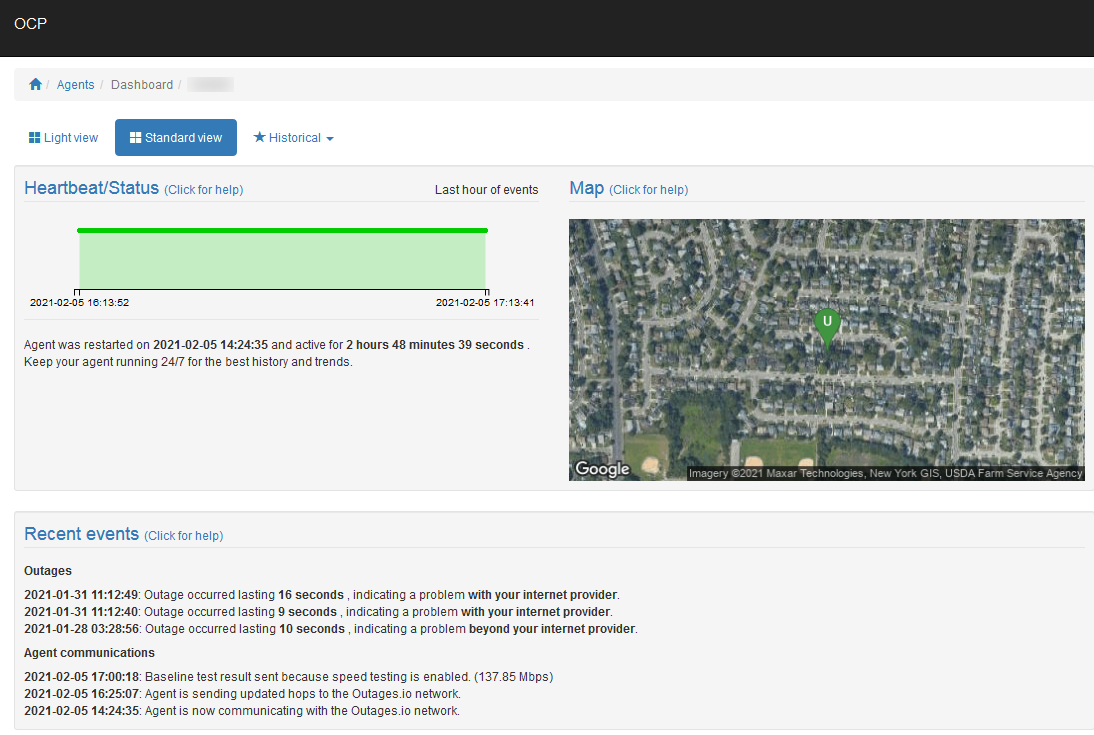
Once logged in, they should see their agent in in the agents list and can click on the Dashboard icon to look at their reports.
-
E EchoMin locked this topic on